
 In Her Skein
 Pattern


Olmaria Top

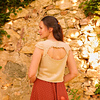
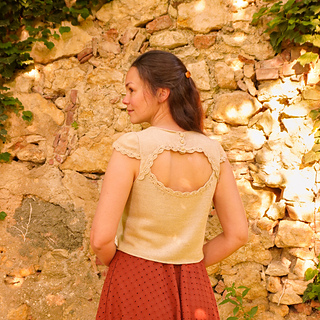
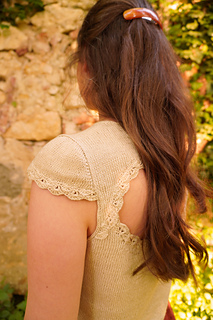
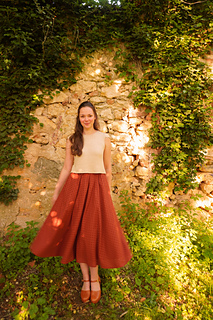
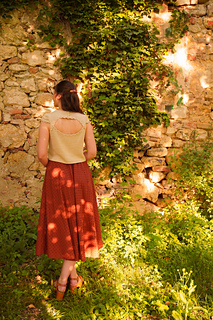
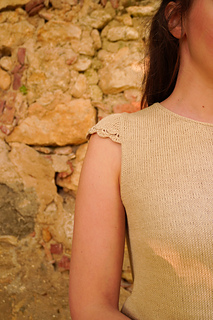
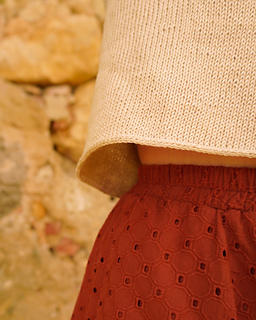
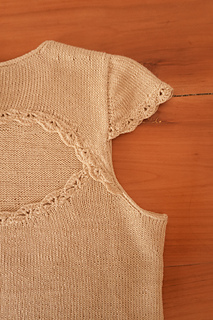
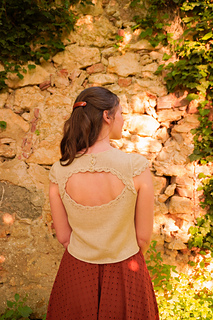
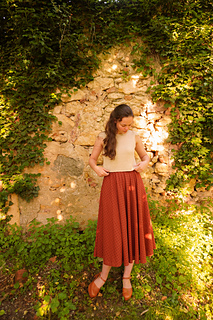
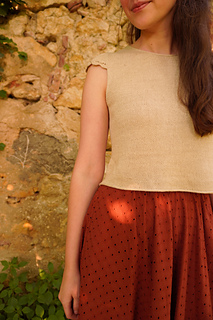
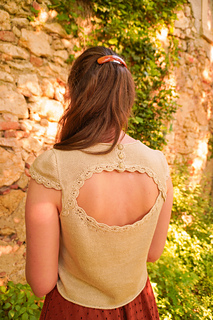
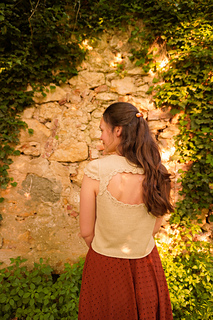
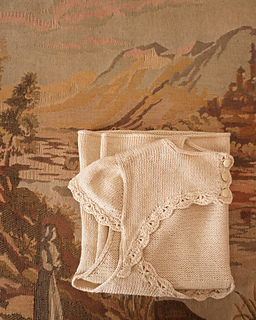
The Olmaria Top showcases vintage charm with its open back, crochet detailing and cap sleeves, while the straight, cropped silhouette and minimalist neckline lend a modern flair. It’s an ideal piece to pair with skirts or high-waisted pants, making it a playful summer addition to your wardrobe.
Construction
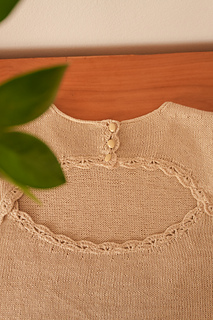
This top features a unique open-back construction, which begins by shaping the left upper back and front panel, followed by the right upper back and front panel. These panels are worked back and forth and shaped with increases, cast-on stitches, and short rows to form the upper back curve. Stitches are then bound off for the back neck opening, and both pieces are further shaped with short rows to follow the shoulder slope. The front neckline is then shaped with increases before joining both panels at the front neck to complete the neckline. The front is worked straight until the armhole shaping, after which stitches are placed on hold while the lower back panel is shaped with increases, cast-on stitches, and short rows to form the lower back curve. The upper back and front panel is then joined with the lower back panel by casting on stitches at the underarms to work the cropped body in the round before finishing it with an I-cord bind-off. An applied I-cord is worked along the neckline, followed by crochet edging along the curved edges of both the upper and lower back panels. The yoke is assembled by overlapping the upper and lower back panels at the armhole and working an applied I-cord. Stitches are then picked up along the upper part of the armhole to work a short-row cap sleeve, which is finished with a crochet edge. Finally, buttons are sewn onto the right upper back crochet edge, allowing the upper back opening to be fastened using the holes in the left upper back crochet edge. The pattern also includes optional bust shaping, achieved by adding stitches in the armhole shaping of the front panel and decreasing these extra stitches below the bust apex to form vertical bust darts.
Sizing
Sizes 1 (2, 3, 4, 5) (6, 7, 8, 9) (10, 11, 12, 13) have a finished bust circumference (Cup 1 - without bust shaping) of 74 (81, 89, 96, 103) (109, 116, 124, 131) (138, 144, 151, 159) cm / 29.5 (32.5, 35.5, 38.5, 41.25) (43.5, 46.5, 49.5, 52.5) (55.25, 57.5, 60.5, 63.5)“. The Cup 2 bust shaping adds 5 cm / 2” to the finished bust circumference and Cup 3 adds 10 cm / 4”. The pattern includes detailed instructions to choose a size and cup size.
Recommended ease: 0 – 7 cm / 0 – 2.75” of positive ease at the full bust.
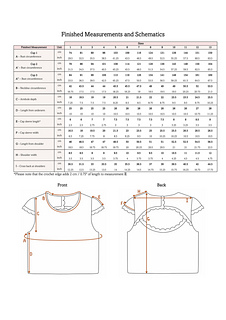
See finished measurements table and schematics at the end of the pattern pictures for more information.
Sample
The sample is shown in size 3 without bust shaping (Cup 1) with 3 cm / 1.25” of positive ease on a full bust of 86 cm / 33.75” and upper bust of 85 cm / 33.5”.
Yarn
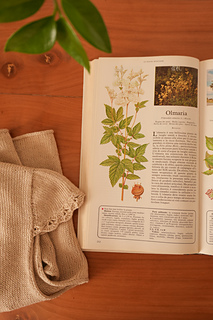
The sample is worked in Isager Trio 2 (50% linen, 30% cotton, 20% lyocell; 175 m / 191 yds – 50 g) in the Linen colorway.
You will need 3 (4, 4, 4, 5) (5, 5, 5, 6) (6, 6, 7, 7) balls of Isager Trio 2 or approx. 510 (560, 610, 660, 725) (760, 815, 875, 920) (965, 1005, 1080, 1170) m / 560 (610, 665, 720, 795) (830, 890, 955, 1005) (1055, 1100, 1180, 1280) yds of fingering-weight yarn with a predominant content of plant-based fibers or silk. If working a Cup 2, account for up to 25 m / 27 yds more yarn than indicated for your size. If working a Cup 3, account for up to 55 m / 60 yds more yarn than indicated for your size.
Knitted Gauge
28 stitches x 37 rows = 10 cm x 10 cm / 4” x 4” on 3 mm / US 2.5 needles in Stockinette Stitch (back and forth and in the round) after blocking.
Needles and crochet hook
• 3 mm / US 2.5 circular needles of at least 80 cm / 32” for the main fabric and the I-cord finishing. Or needle size needed to reach the knitted gauge and I-cord gauge.
• 1.25 mm / US 9/4 crochet hook for the crochet edges. Or hook size needed to reach the crochet gauge (swatching instructions included in the pattern).
Notions
• 3 stitch markers including a distinct beginning of round stitch marker
• Removable stitch markers
• Measuring tape
• Try-it-on tubing or waste yarn to place stitches on hold
• Tapestry needle
• 3 buttons of approximately 10 mm / ⅜“
• Sewing needle
• Sewing thread
Skill level
This pattern is written with intermediate knitters and crocheters in mind.
Techniques
• Long tail cast-on
• Cable cast-on (video tutorial available)
• Purled cable cast-on (video tutorial available)
• German short rows
• Lifted increases (video tutorial available)
• Simple decreases
• I-cord bind-off (video tutorial available)
• Crochet edges (video tutorial available)
This pattern has been tech edited by Agnes Kroner and test knitted by a wonderful group of testers!
Happy knitting :)


 Ravelry download


 Cancel
2455 projects
stashed 1243 times
 stashed